
The journal
How long to toast nuts in the oven? Practical times and method
Learn how to toast nuts in oven with exact times for almonds, walnuts, pecans, and hazelnuts plus a step-by-step method and storage tips.
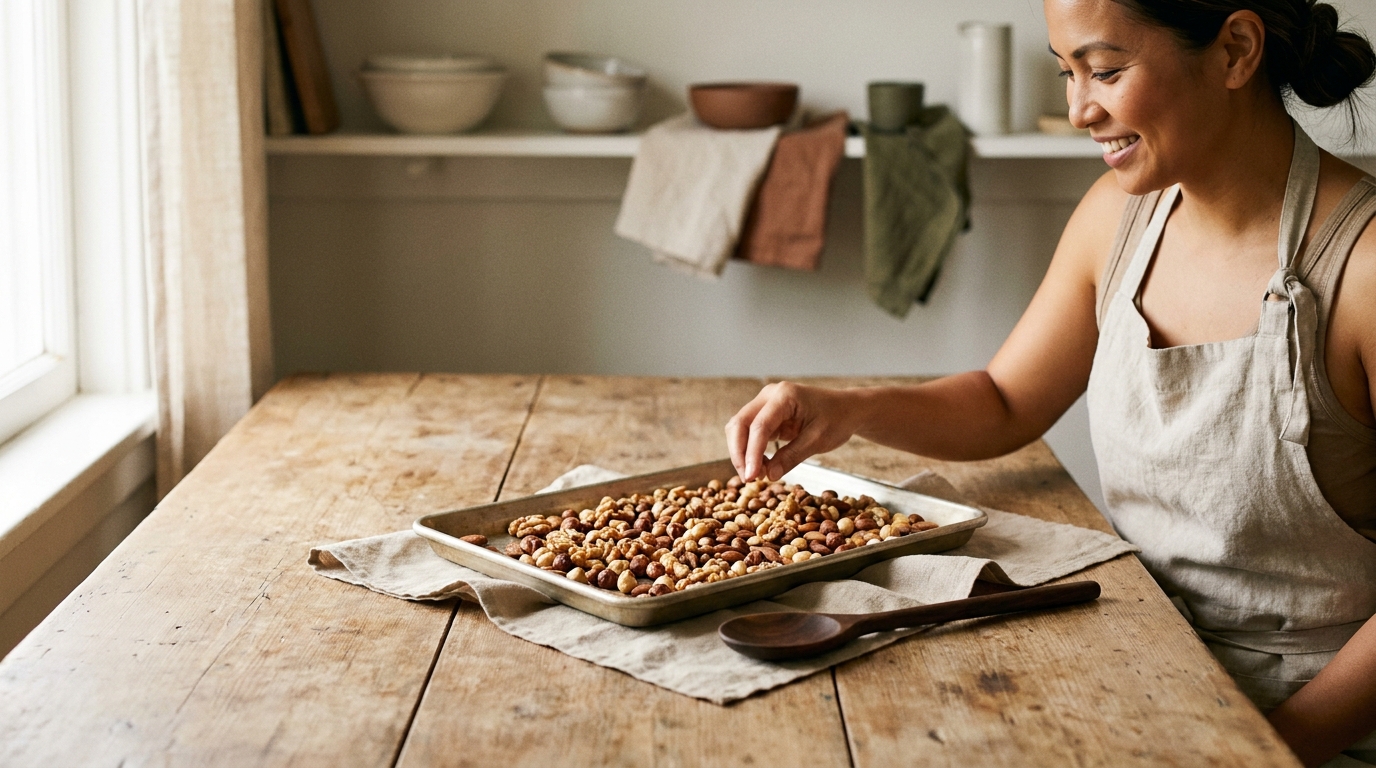
Quick answer and timing summary
One-sentence quick answer
The fastest reliable approach for how to toast nuts in oven is to spread them in a single layer on a rimmed baking sheet, roast at 350°F (177°C), stir once halfway, and expect most whole nuts to finish in 6 to 15 minutes depending on type and size, using aroma and slight color change as your main doneness cues.
How long should I leave different nuts in the oven to toast them properly?
Typical times at 350°F are 8 to 12 minutes for whole almonds, 8 to 10 minutes for walnuts, 6 to 10 minutes for pecans, and 10 to 15 minutes for hazelnuts; use aroma and color as the main doneness indicators and cool nuts immediately to stop carryover cooking.
At-a-glance timing chart
At 350°F, typical oven toasting times are about 8 to 12 minutes for whole almonds, 8 to 10 minutes for walnuts, 6 to 10 minutes for pecans, and 10 to 15 minutes for hazelnuts, with sliced or chopped nuts finishing sooner; these ranges reflect standard home-oven practice and the Almond Board of California timing guidance for almonds. See Smitten Kitchen's timing notes for a similar quick reference: Smitten Kitchen.
Thinner cuts like slivered or chopped nuts can be done several minutes earlier than the whole-nut ranges given above, so check them earlier and use sensory cues rather than the clock alone to avoid over-toasting. For a general safety margin, you can lower oven temperature to 300 to 325°F and extend time, which reduces the chance of scorching for high-fat nuts.
Practical note: nuts continue to cook from residual heat after you remove them from the oven, so transfer them immediately to a cool tray and let them cool completely before sealing for storage to stop carryover cooking and lock in the right roast level. For a concise source on the single-layer and mid-roast stirring technique, see the King Arthur Baking Company guide.

Why temperature and time matter when toasting nuts
Heat changes nuts primarily by driving oil migration and initiating Maillard browning, which together deepen flavor and aroma; higher temperature speeds these reactions but can also push a nut from perfect to bitter in a matter of moments, so temperature choice is a balance between speed and control as explained by modern kitchen testing.
Lower oven temperatures, in the 300 to 325°F range, lengthen roasting time and give you a wider safety margin against scorching, which is useful for tender, high-fat nuts such as pecans; if you prefer a gentler roast that preserves delicate aromatics, choose lower heat and watch for the sensory cues described below, following the general guidance in kitchen technique reporting.
Conversely, very hot settings like 375°F or above will shorten time but increase the risk of uneven browning, especially in dense ovens or when nuts are crowded on the pan; that risk is why many home cooks stick to the 325 to 350°F window for consistent results, a recommendation reinforced by recent technique reviews.
Because nuts carry significant oil, residual heat after removal continues to deepen color and aroma, so plan to stop carryover cooking by moving nuts off the hot sheet quickly; this timing discipline is as important as the oven minutes you choose.
ensure consistent oven temperature and cooling
Step-by-step oven method every home cook should use
Prep: pans, single layer, preheating
Preheat your oven to the target temperature for the nut you are toasting, most commonly 350°F for everyday toasting. Use a rimmed baking sheet so nuts cannot roll off, and spread them in a single layer with space between pieces; if you have thin or chopped nuts, allow more space so hot air circulates evenly. See our cooking techniques guide for related oven setup tips.
For a light nonstick surface, you can line the sheet with parchment paper, but avoid piling nuts or using a deep pan that traps heat and encourages uneven browning. Confirming oven temperature with a simple oven thermometer helps keep times predictable because many home ovens run differently from their dials.
During roasting: stirring, timing, checking
Start with the lower end of the time range for the nut you are using and set a timer to check at the halfway point, then gently stir or shake the pan once to redistribute pieces for even color and exposure; stirring once midway is standard practice to achieve uniform toasting as recommended in modern technique writeups. The Kitchn's comparison of toasting methods also reaches similar practical conclusions: The Kitchn.
Check for doneness by sight and smell more than by the clock: a pleasant nutty aroma, a slight deepening of color, and a faint sheen from released oils are reliable signs that a batch is ready. If you are toasting a mixed tray, base your checks on the smallest or thinnest pieces since they will finish first.
After roasting: cooling and stopping carryover cooking
Immediately transfer nuts off the hot sheet to a cool tray or plate so they stop cooking from residual heat; leaving them on the hot pan will continue the roast and often lead to over-browned or bitter flavors even after you think they are done. Cooling on a flat, cool surface in a single layer helps them reach the ideal finish quickly.
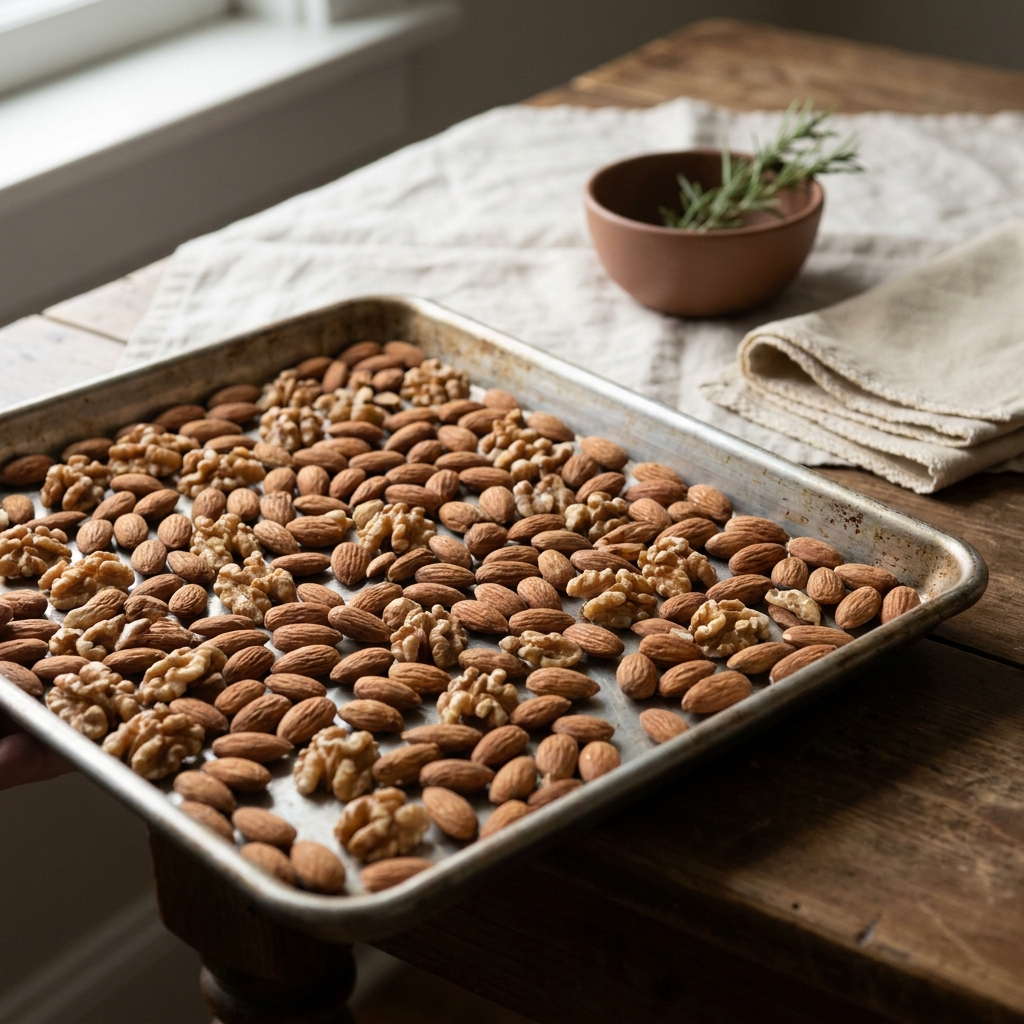
Once cool, taste a piece to confirm the level of toast before using the batch in a recipe. If some nuts are slightly underdone for your use, a quick re-toast in a small batch on a cooler oven or in a skillet for a minute or two can finish them, but avoid high heat corrections which often cause uneven results. For practical preheat and stirring advice, Serious Eats provides a clear home-oven method overview.
Timing and tips by nut: almonds, walnuts, pecans, hazelnuts
Almonds: whole, sliced, slivered
Whole almonds typically roast at 350°F in about 8 to 12 minutes; sliced or slivered almonds finish faster because their reduced thickness lets heat penetrate more quickly, so check those after 5 to 7 minutes. The Almond Board of California outlines similar timing and recommends watching for aroma and color change as the deciding factors. Elizabeth Karmel also discusses similar timing considerations: Elizabeth Karmel.
Because sliced almond pieces can go from perfect to too dark rapidly, use the lower end of the time range and check visually and by smell. If you plan to toast large batches, split them into multiple trays rather than crowding a single sheet to keep times consistent.
Walnuts: halves and pieces
Walnuts at 350°F usually take about 8 to 10 minutes to reach a fragrant, lightly deepened color; spread them in a single layer and stir once to get even browning, which is especially important for the irregular shapes and thin halves common with walnuts.
Because walnut pieces vary in size, check at the early end of the window and remove any smaller pieces sooner to avoid uneven bitterness. For a focused how-to on walnuts and timing, see the California Walnuts kitchen tips.
Pecans: halves and chopped
Pecans are tender and high in oil and will often finish faster than denser nuts, commonly reaching the desired light toast at 350°F in about 6 to 10 minutes; because of that fat content, pecans benefit from a slightly lower setpoint or closer monitoring to avoid scorching.
If you are toasting chopped pecans for a topping, check them a minute or two earlier than halves because smaller pieces brown faster. The American Pecan Council gives practical timing consistent with these ranges and underscores the need for close watching.
American Pecan Council timing notes
Hazelnuts: roasting and skin removal
Hazelnuts typically take roughly 10 to 15 minutes at 350°F to blister skins and develop a pronounced aroma; once toasted, rubbing them in a clean towel or between hands removes much of the loosened papery skin, a common kitchen step for recipes calling for skinless nuts.
Because hazelnuts are round and can roll, spread them so they sit flat and rotate the pan gently at the halfway point for even contact with the tray. For a focused discussion on roasting hazelnuts and skin removal, refer to the Oregon Hazelnuts guidance.
Troubleshooting common mistakes and storage best practices
Preventing and dealing with over-toasted or smoky nuts
If nuts begin to smoke or smell bitter, remove them at once and transfer to a cool surface; bitter smell is a sign of burning and that batch should not be used in delicate baked goods where the flavor would dominate. Over-toasted nuts can sometimes be rescued by mixing with fresh, untoasted nuts in a recipe where a slightly darker flavor is acceptable, but if the taste is sharp and acrid, discard the batch for best results.
To prevent this in the future, use a lower temperature, check earlier, and confirm oven calibration with a thermometer. Serious Eats and other technique references recommend starting on the lower end of published time ranges until you know how your specific oven behaves.
Serious Eats guidance on preventing over-toasting
How to cool and store toasted nuts to preserve flavor
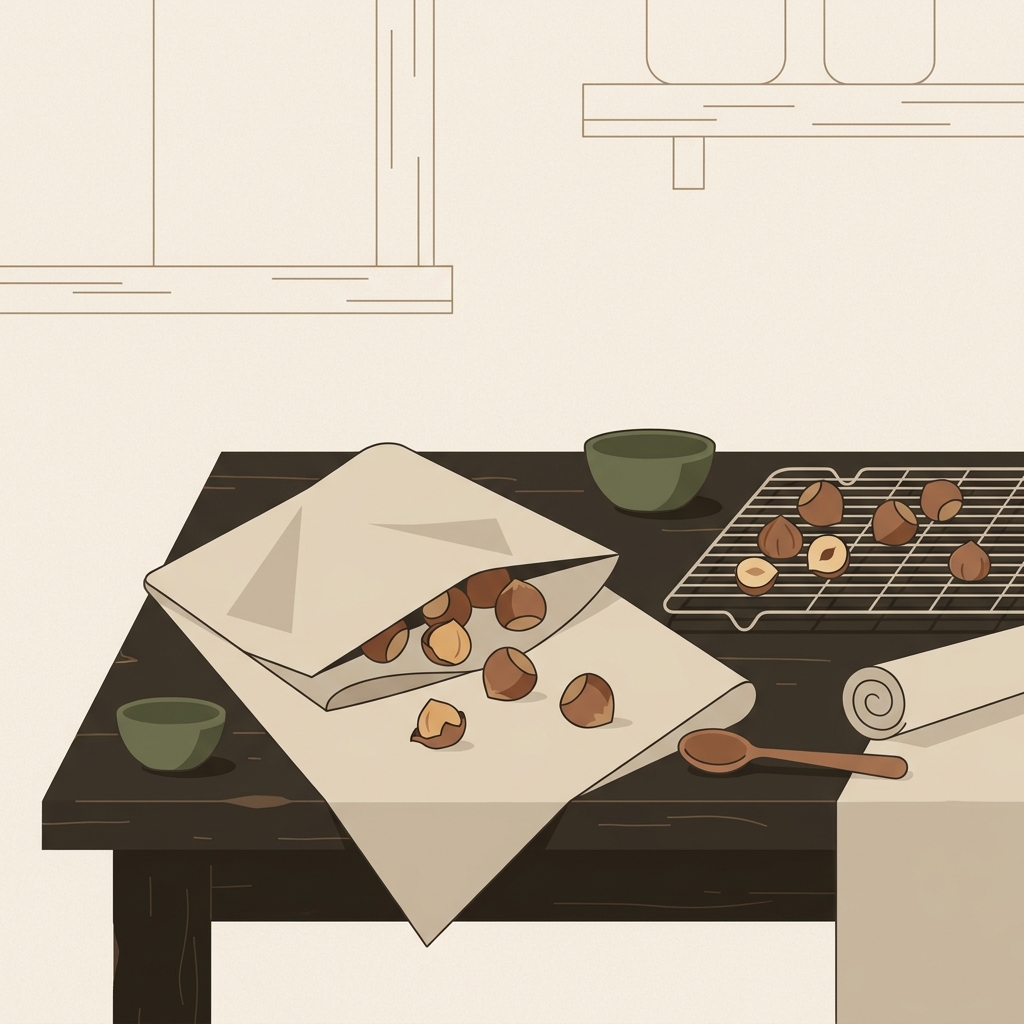
Cool toasted nuts completely in a single layer before sealing in an airtight container; at room temperature they keep best for about a week before subtle flavor loss begins, while refrigeration or freezing extends freshness by slowing rancidity, which is driven by the oil content in nuts.
Label containers with the date when you toasted them and use refrigerated storage for longer-term keeping, especially for chopped or ground nuts used in doughs where exposed surface area hastens staling. King Arthur and other culinary guides recommend full cooling prior to storage to avoid trapped steam that softens texture. See our storage and preparation guide.
Practical uses and quick checklist
When to toast for baking versus garnish
Toast nuts for baking when a deeper, nuttier flavor is helpful inside batters or doughs; toast them for garnish when you want a crunchy, aromatic finish on salads, roasted vegetables, or desserts. A more pronounced roast suits savory uses, while a lighter roast preserves delicate, fresh nut notes favored in pastries and fruit-forward dishes.
For chopped nuts that will be folded into dough, aim for the lower end of the time range so the oven time in the finished bake does not darken them further. Conversely, for finishing garnishes, you can push slightly longer for crunch and aroma, then cool fully before chopping or sprinkling.
Printable checklist for a consistent roast
Use this short checklist each time you toast: set oven to target temperature, confirm with an oven thermometer, spread nuts in a single layer on a rimmed sheet, set timer to check halfway and stir once, watch for aroma and slight color change, transfer immediately to a cool tray, cool completely, store airtight or refrigerate for longer life. These steps are the core routine to make results repeatable across batches and oven differences. See our everyday cooking guide.
When trying a new oven or a different nut size, test a small tray first to confirm timing and adjust by a minute or two as needed. For general best practices and single-layer guidance, King Arthur and Serious Eats provide helpful technique overviews you can follow when learning your oven.
Serious Eats practical checklist
Frequently asked questions
How do I know when nuts are properly toasted?
Look for a stronger nutty aroma, a slightly deeper color, and a faint surface sheen; remove from heat and cool immediately because nuts carryover cook.
Can I toast mixed nuts together?
You can, but check sooner and basing checks on the smallest or thinnest pieces is safest because smaller nuts finish faster.
What is the best way to store toasted nuts?
Cool completely, then seal in an airtight container; keep at room temperature for short-term use or refrigerate or freeze for longer preservation.
With a simple single-layer roast, a mid-roast stir, and immediate cooling, you can reliably toast nuts for baking and garnish. Test small trays when you try a new oven or a different nut size and keep a short checklist handy for repeatable results.
References
- https://smittenkitchen.com/2015/04/why-you-should-always-toast-your-nuts/
- https://stirreddaily.com/guides/cooking-techniques/
- https://www.thekitchn.com/we-tried-4-methods-for-toasting-nuts-and-found-a-clear-winner-23078980
- https://www.seriouseats.com/how-to-toast-nuts
- https://www.elizabethkarmel.com/recipesarchive/2020/1/28/the-best-way-to-toast-nuts
- https://stirreddaily.com/guides/storage-and-preparation/
- https://stirreddaily.com/guides/everyday-cooking/
Product options for this topic
As an Amazon Associate I earn from qualifying purchases. These are researched options, not hands-on test results. Check the exact size or model, current price and availability on Amazon.
| Product option | Fit and limits to check | Retailer |
|---|---|---|
| Nordic Ware Naturals half sheet, single pan | An aluminum sheet-pan option for baking and roasting. Measure your oven and recipe’s required pan dimensions; shallow rims are not a deep cake tin. | View on Amazon |