
The journal
What is the difference between toasted and roasted nuts? A practical kitchen guide
how to toast nuts in oven, practical step-by-step tips for oven toasting, texture cues, uses and storage advice.
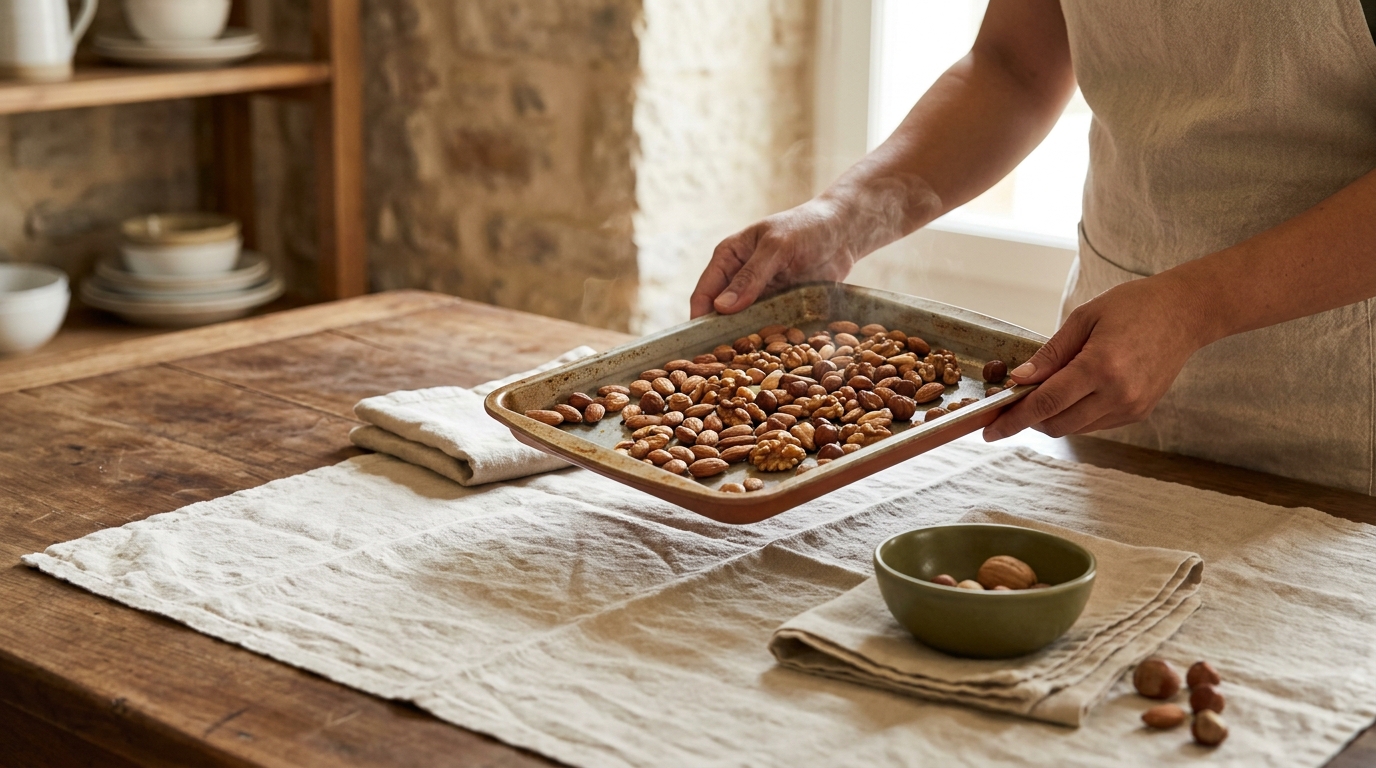
Toasted versus roasted nuts: a concise definition and when to choose each
The words toasted and roasted are often used interchangeably, but in the kitchen they point to different technical choices. To keep this practical, this section also notes how to toast nuts in oven as one common dry-heat method you can use at home.
At its simplest, toasted means a dry-heat finish applied briefly, usually without added fat, to lift aroma and sharpen texture. Roasted often implies longer cooking, sometimes with oil or fat, and is commonly used for larger commercial batches and for nuts meant for snacking with added seasoning.
How should I choose between toasting and roasting nuts for a recipe?
Choose toasting when you want a quick flavor lift and a lighter crunch; choose roasting when you want a deeper, snack ready finish or when oil and seasoning need to adhere to the nut.
Think of toasted as a quick brightening treatment, like a light sear on bread, and roasted as a deeper cook that can build richer brown flavors and a firmer bite. Both change flavor and texture by driving off moisture and promoting Maillard browning, but the outcome depends on time, temperature and whether oil is present.
Chefs and home cooks mean slightly different things when they use the words. A recipe that asks for toasted nuts often expects a short turn in a hot pan or oven to add scent and a little crunch, while a roast instruction may aim for a more finished snack texture and a fuller, deeper flavor profile. Watch the recipe context before you decide which approach to use.
Typical culinary reasons to toast include finishing a salad, adding a warm crunch to a grain bowl, or briefly enhancing the aroma of nuts before grinding into a paste. Typical reasons to roast include preparing a snack with seasoning, making a larger batch for storage, or adding a deeper roast flavor for recipes where the nut is the star.
Texture is a major difference. Toasting tends to keep nuts a bit lighter and more delicate in crunch, while roasting can produce a firmer, more uniform bite. Flavor changes too. Toasting brings out immediate, bright nutty notes. Roasting can deepen sugars and fats toward a heavier, toffee like profile when done longer.

Because terminology varies by region and by recipe writer, the safest rule is to read the method. If the recipe gives a short, dry-heat step or suggests adding nuts at the end of cooking, treat that as toasting. If it calls for a longer-time bake, often with oil and seasoning, treat that as roasting.
Common nut choices follow patterns. Almonds, hazelnuts and walnuts are frequently toasted for baking and finishing because their structure benefits from a quick heat burst. Peanuts and cashews are often roasted as snacks and may be oil roasted to carry salt and spice. Pecans and macadamias can go either way depending on whether you want a light flavor lift or a full snack finish.
how to toast nuts in oven: step-by-step guide for the home kitchen
Before you start, gather a simple kit: a flat baking tray, parchment paper or a reusable liner, an oven rack in the middle position and a tool to move the tray such as an oven mitt and a spatula. A single even layer is essential so each nut sees similar heat.
Sort the nuts by size and remove any that look soft or discolored. Smaller nuts and pieces will brown faster than whole, larger nuts. If you are new to the method, plan a small-batch test to refine timing for your oven and the nut type you are using.
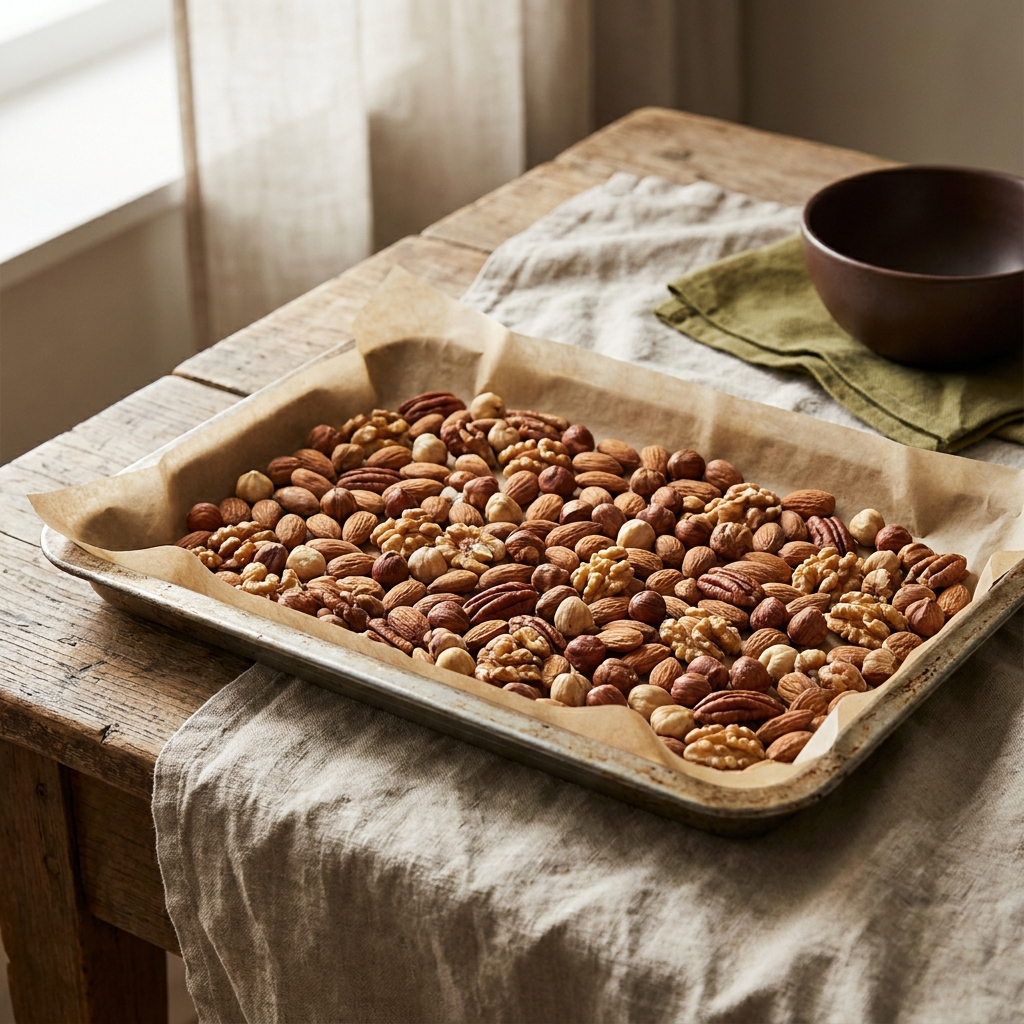
Arrange nuts in one layer with space between pieces so hot air can circulate. If you must do more than one tray, rotate trays between racks halfway through and swap front to back. Use the oven light to watch color without opening the door frequently.
Set up a cool tray or a sheet of parchment nearby to receive the nuts when they come out. Nuts continue to cook off the heat for a few minutes, so plan to remove them from the hot tray and transfer to the cool surface to stop carryover cooking. A short rest also lets moisture redistribute so the final texture crisps up.
For timing, rely on short observation windows. Check early and often as the finish point can come quickly. Look for a clear color shift toward a deeper tone, a warm nutty aroma that becomes prominent, and a slight increase in crispness after cooling. If you smell any sharp burnt notes, remove the tray immediately.
When working with oiled or salted nuts, reduce the heat exposure slightly and watch more closely. Oil speeds color change and can hide early visual cues, so smell and small test bites become more important cues for doneness.
After removing the nuts, spread them in a single layer on the cool tray and let them rest until fully cool. During this period, they firm up and the final texture becomes clear. Store cooled nuts properly to preserve flavor and crunch.
What you need before you start
Checklist items: flat baking tray, parchment or liner, oven mitts, spatula, a small bowl for testing, and an empty cool tray for resting. Consider sorting nuts by size before you begin so nothing overcooks while other pieces are still pale.
Small-batch tests give confidence. Use a tablespoon or two as your test portion to see how your oven behaves and how the particular nut reacts. This way you avoid risking a whole batch on a guess.
Step-by-step oven workflow
Preheat awareness is useful. Start with a hot oven so the nuts see steady heat immediately. Lay the nuts in one even layer. Place the tray in the center of the oven. Check after a short interval to note color and smell. Stir or shake the tray gently if the recipe or your instinct suggests uneven browning. Move the tray out before color gets too deep and transfer nuts to the cool surface to stop carryover cooking.
Sensory cues are your final judge. Color shift, a warm nut aroma and the way the nuts feel as they cool are the true indicators of readiness. If you are ever unsure, err on the side of slightly under rather than over; you can always extend exposure by returning nuts briefly to the oven, but you cannot reverse charring.
Sensory cues to check doneness
Look for a subtle, uniform deepening of color without black spots. Smell for a clear, warm aroma that tells you natural oils are waking up. Break a piece when cool and check for a clean, crisp break rather than a chewy center.
Avoid distractions toward the end of the process. The final minute or two can be decisive. Keep the oven light on and watch carefully instead of opening the door and letting heat escape repeatedly.
Oven toasting compared with stovetop and oil roasting: pros, cons and best uses
Oven toasting is great for evenness and for hands-off work when you have larger amounts. The steady hot air delivers predictable, overall color and aroma for a whole tray at once. It is especially handy when you want to toast enough nuts for a recipe or for multiple uses.
Stovetop pan toasting gives immediate feedback and is ideal for very small amounts. Direct contact with the pan lets you control contact browning and flip pieces quickly. That makes pan toasting valuable when you want close color control or when a small skillet is already in use.
Oil roasting adds flavor and helps seasonings stick. When you add a small amount of oil before heat, the surface browns differently and the overall mouthfeel becomes richer. Use oil roasting when you want nuts that carry salt or spice as a snack or topping.
Consider batch size and attention. If you need a handful for a salad, pan toasting is often faster and less wasteful. If you need cups of toasted nuts for baking, oven toasting makes the load manageable and consistent.
Think of tradeoffs in texture and flavor. Oven toasting tends to produce an even, lighter toasted note across pieces. Pan toasting can give pronounced toasty edges and a mixed profile of light and dark browning. Oil roasting builds a more rounded, richer mouthfeel and is often used for seasoned snacks.
When oven toasting is preferable
Choose the oven when you need even results, when making larger batches, or when you want a straightforward, low-fuss approach. It frees your attention for other parts of the recipe and keeps the stove free.
When pan or oil roasting makes sense
Pick the pan for speed and fine control with small portions. Choose oil roasting when you want a richer finish and need the oil to carry seasonings or to help a glaze adhere.
How to tell when nuts are done and common mistakes to avoid
Sensory indicators lead this section. Watch color, smell and texture. A gentle, even color shift toward golden or deeper tones and a clear warm aroma are the first signs of success. Texture after cooling should be crisp, not soft.
Carryover cooking is real and important. Nuts absorb heat and continue to brown after you remove them from the oven. Transfer them to a cool tray to arrest that process. This step prevents overcooking and preserves the intended texture.
quick checks to judge doneness and avoid burning
Top mistakes include overcrowding the tray, ignoring size differences, and leaving the oven unattended toward the end. Overcrowding causes steaming and uneven browning. Pieces of different size will finish at different times, so sort or stagger batches if needed.
Practical fixes are straightforward. Toast smaller batches, spread pieces in a single layer, and plan to rest nuts on a cool tray. If a batch includes both whole and chopped nuts, consider doing chopped pieces first or in a separate batch to avoid burning the small pieces.
If nuts develop a bitter burnt smell, discard that batch for use as a neutral ingredient; burnt notes transfer strongly and are hard to mask in recipes. Learning to rely on smell and a small break test will reduce the chance of this happening.
Sensory indicators: sight, smell and texture
Use sight to note an even deepening of color. Use smell to detect the warm, nutty aroma that appears before you can always see full color change. Use a cooled test bite to confirm the crispness you want.
Top mistakes and how to prevent them
Do not assume all nuts toast at the same rate. Don't crowd the tray. Do not ignore the final minutes. Prevent mistakes by testing small amounts and by keeping a cool tray ready to stop carryover cooking.
Practical uses and simple recipes using toasted or roasted nuts
Toasted and roasted nuts have many immediate uses. Sprinkle them fresh on salads for a warm crunch, fold them into batters for texture, or pulse them into pastes for nut butter or pesto. The choice of toasted or roasted will change the final dish.
For a salad topping, use lightly toasted nuts for brightness and a fragrant lift. For a stand alone snack with salt and spice, roasted or oil roasted nuts give a deeper, more snack like experience. For baking, lightly toasted nuts hold shape and add a toasted nuance without overpowering other flavors.
Quick serving ideas
Toss a small handful of warm toasted nuts over greens with a citrus vinaigrette for contrast. Mix chopped toasted nuts into cookie or muffin batter for added texture and a warm note. Blend toasted nuts into a simple paste, adding oil and salt to make a quick spread.
Bake and blend: using toasted nuts in recipes
Use toasted nuts in batters, crumbles and crusts. Pulse cooled toasted nuts with a small amount of oil to make a nut butter or a grain free crust. When mixing into doughs, fold in cooled nuts just before shaping to preserve their crunch.
Seasoning approaches change with the cooking method. Add salt or spice lightly after toasting to keep crunchy accents. For glazes, apply a warm syrup or honey just after toasting so the coating adheres while the nuts are warm.
Storage, shelf life and final tips for success
Short term storage works well in airtight containers at room temperature for a few days. For longer preservation, refrigerate or freeze in airtight containers to slow rancidity. Label and date batches so you can rotate through oldest first.
Rancidity is the main enemy of stored nuts. Smell and taste are the clearest signs: a sharp off aroma or a stale, bitter taste indicate the oils have gone off. When in doubt, discard and refresh with a new batch.
To re-crisp nuts, warm them briefly using a low oven or return them to the oven for a very short exposure, watching closely. Do not overheat; repeated cycles of heating and cooling will accelerate oil breakdown, so only re-crisp when necessary and in small amounts.
Final checklist before serving: sort and remove damaged pieces, toast in a single layer with space between pieces, watch and trust your senses, transfer to a cool tray, and store cooled nuts in an airtight container labeled with the date.
With practice you will develop a sense for how your oven and your preferred nuts react. The method is forgiving when you test small batches and use smell and color as your guides. Happy toasting.
Frequently asked questions
Can I toast mixed nuts together?
You can, but sort by size and check often. Smaller pieces brown faster so consider separate batches for very mixed sizes.
Will toasting nuts make them last longer?
Toasting reduces surface moisture but does not prevent rancidity; store cooled nuts in airtight containers and use refrigeration or freezing for long term storage.
Can I reheat nuts to make them crisp again?
Yes, briefly warming in a low oven can re-crisp cooled nuts, but do this sparingly to avoid accelerating oil breakdown.
A reliable oven toasting method gives you consistent aroma and texture while freeing you to focus on the rest of the dish. Practice with small batches until you know how your oven behaves with each nut type. Keep cooled nuts labeled and stored airtight, and use sensory checks rather than a strict clock to decide doneness.
References
- https://www.allrecipes.com/article/how-to-toast-nuts/
- https://stirreddaily.com/guides/cooking-techniques/
- https://stirreddaily.com/technique-atlas/roast/
- https://www.thekitchn.com/we-tried-4-methods-for-toasting-nuts-and-found-a-clear-winner-23078980
- https://smittenkitchen.com/2015/04/why-you-should-always-toast-your-nuts/
- https://stirreddaily.com/guides/storage-and-preparation/