
The journal
Is it okay to proof bread dough overnight? Practical checks and workflows
how to tell bread dough is proofed, with simple sensory tests, fridge-proof planning, and overnight workflows to fit baking into your schedule.
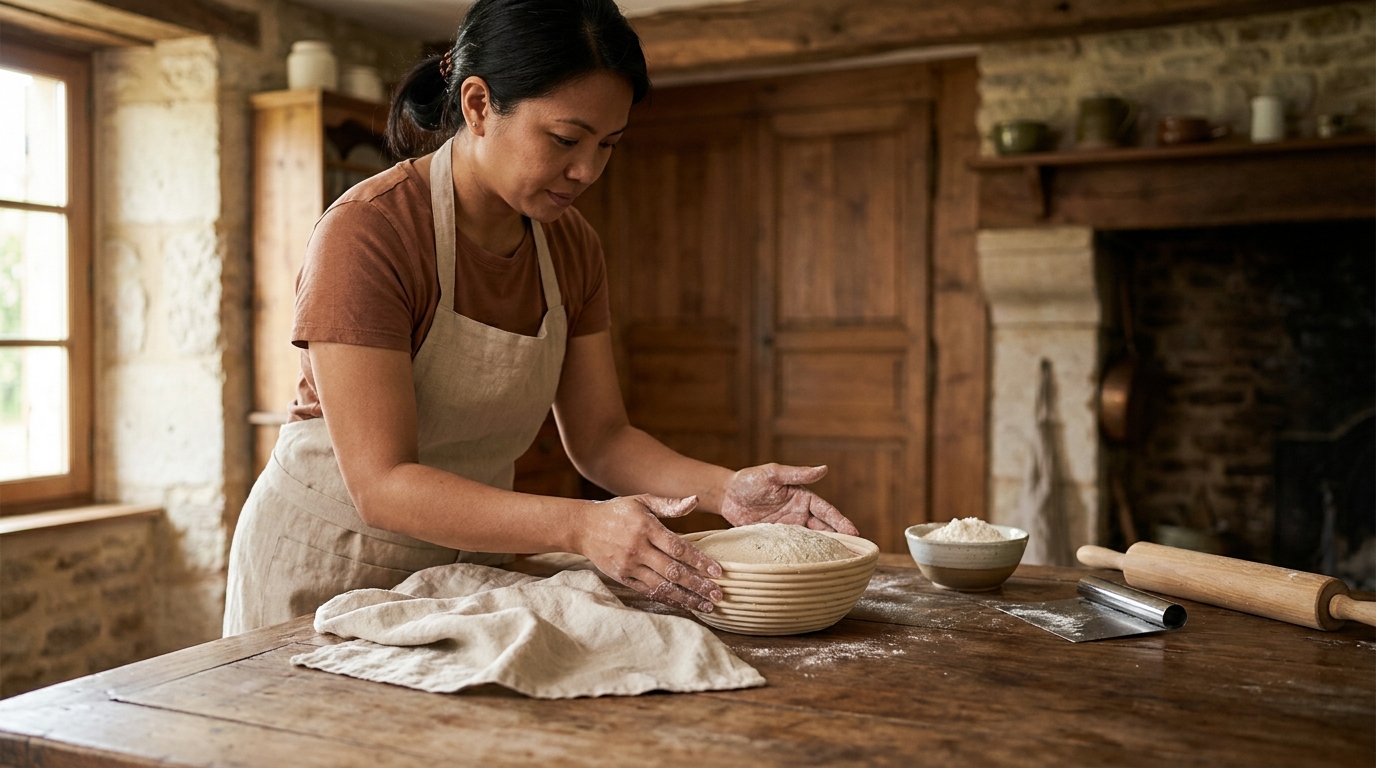
Quick answer and what this guide will help you learn
Short answer: yes, overnight proofing is commonly used and can be fine when managed correctly. Many home bakers use a long, cool proof to develop flavor and fit baking into a schedule.
This guide focuses on practical ways to know whether dough is ready to bake, including sensory checks you can perform at home, how temperature and timing influence those checks, and simple workflows for conservative overnight plans.
Is it okay to proof bread dough overnight?
Yes, overnight proofing is commonly used and can produce better flavor and flexible timing if you manage yeast amounts, fridge temperature, and use sensory checks like the poke test to confirm readiness.
Below you will find step-by-step checks, clear examples of schedule adjustments, and rescue techniques if a cold proof runs longer than expected. If you want quick reassurance, start with the simple poke test described later and compare what you see with the visual cues and timing notes in the workflows section.
What 'proofed' means and why it matters
Proofing is the fermentation stage when yeast, and in sourdough baking the starter culture, produce gas that expands the dough and stretches the gluten network. That expansion changes the dough's volume, its surface tension, and the way it behaves in the oven when heat causes rapid gas expansion and oven spring.

Think of proofing as both a timing and a structural milestone. The dough must be active enough to hold gas and then release it in a controlled way while baking. If the gluten is not developed, the dough may not trap gas well and will have poor crumb. If the dough is held too long, the gas can escape, the gluten can weaken, and the dough can collapse or lose oven spring.
There are two fermentation phases to keep in mind. Bulk fermentation happens early, when the whole mass of dough is working while still loosely shaped. Final proof, or the second rise, happens after shaping, when surface tension and shaping determine how the loaf will hold its shape and how the crust forms. Overnight proofing can refer to a long bulk fermentation or a long final proof, and the strategies differ depending on which step you slow down.
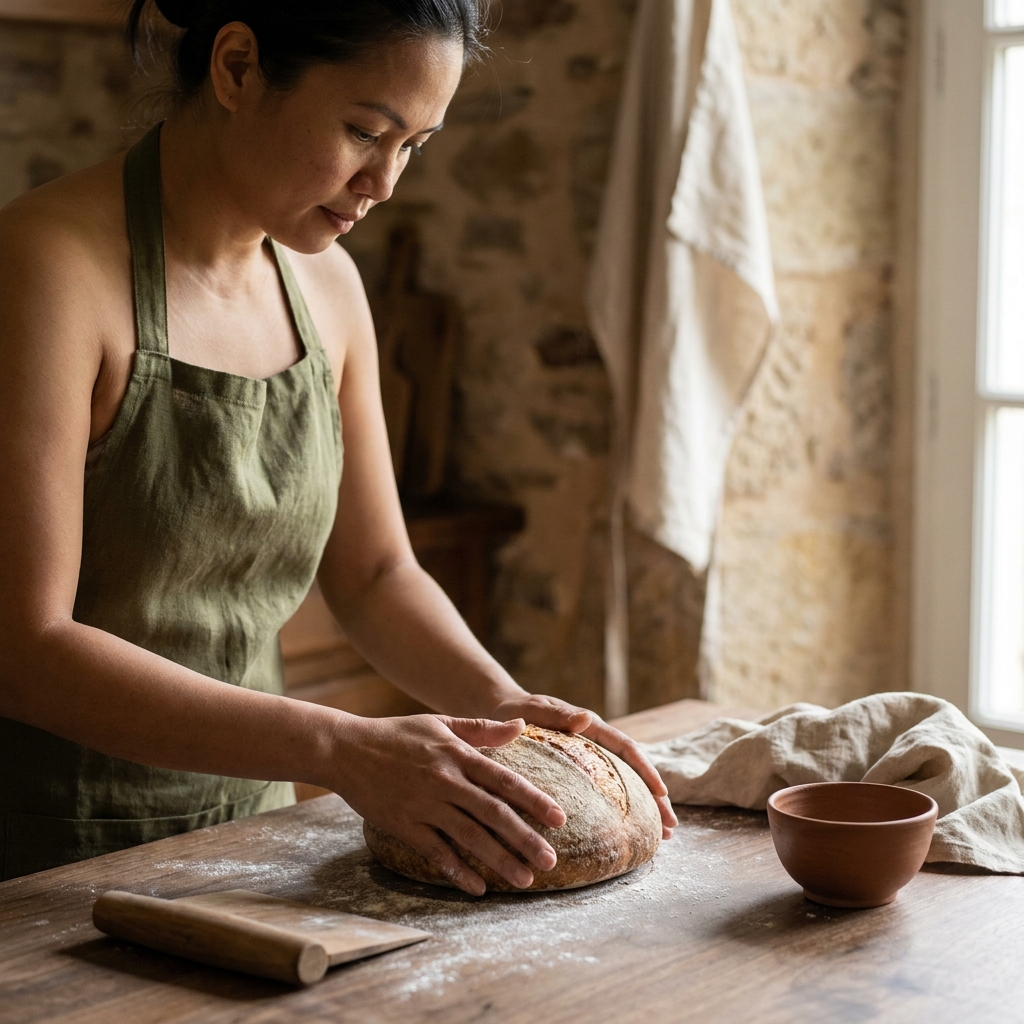
For practical home baking, separating bulk fermentation from final proof helps decide whether to cool the dough early, slow the final proof in the fridge, or shape and then retard. The difference matters because a long cold bulk can build flavor but may require a gentle reshaping later, while an overnight final proof usually needs careful handling to avoid overproofing and loss of oven spring.
How to tell bread dough is proofed: step-by-step checks you can use at home
Good sensory checks are repeatable, fast, and need only a few simple tools. The three most useful checks are visual observation, the poke test, and touch or temperature. Use them together rather than alone for best results.
Visual checks: volume, surface texture, and bubble pattern
Start by observing overall volume. A dough that has roughly increased by 30 to 70 percent since shaping may be ready for a final proof, while a dough that has doubled during bulk fermentation is showing strong yeast activity. Look at the surface: a taut, domed surface with small, evenly distributed bubbles suggests the gluten is holding gas. Large, irregular collapsed areas or a glossy, sagging surface suggest overproofing.
Also inspect the crumb visible at the edges and any bubbles through the dough surface. Well-proofed dough shows an even pattern of small to medium bubbles and a slightly domed top. Underproofed dough looks tight and dense, with few visible bubbles and a smooth, flat top. Overproofed dough may have many large surface bubbles, thin or collapsing walls, or a loose, wet feel.
Touch tests: the poke or dent test and spring-back
The poke test is the single most reliable hands-on check for many home bakers. Use a clean finger to press gently into the dough about a half inch to one centimeter deep. Observe how the dough responds: if the indent springs back in less than a second, the dough is underproofed and needs more time. If the indent springs back slowly and partially, the dough is likely ready to bake. If the indent does not spring back at all and the dough remains flattened, it may be overproofed.
When you perform the poke test, be deliberate about depth and speed. A shallow tap will not give the same information as a deliberate half inch press. Try to keep the press consistent between checks so you can tell real changes over time. The poke test is most informative when combined with visual cues rather than used alone.
Smell and feel: aroma and dough temperature checks
Smell gives useful information about fermentation progress. A mild, wheaty, slightly sweet or tangy aroma is normal and indicates active fermentation. If the dough smells very sharp or alcoholic, it has likely fermented for a long time and may be nearing or past peak proof. Texture-wise, a properly proofed dough has a slightly tacky surface, good elasticity, and enough surface tension that it will hold shape when handled gently.
Temperature matters because yeast and bacteria activity escalate with warmth and slow with cool. For overnight proofing in the refrigerator, expect much slower fermentation. Dough straight from a cool proof will feel noticeably colder than room-temperature dough; allow some time for it to warm if you need it to finish proofing before baking. Use a probe thermometer when you want objective confirmation of dough temperature and to help tune your timing for future bakes.
Timing and temperature as supporting evidence
Timing should be treated as a guide, not a strict rule. The same recipe can take very different times to proof depending on dough temperature, ambient conditions, and starter or yeast strength. For cold fermentation or overnight proofing, plan a wide window rather than a single minute endpoint. If a recipe suggests an eight to twelve hour overnight proof, prepare to test the dough at several points in that window using the poke test and visual checks.
Put these tests together into a simple checklist for a final-proof check: look for increased volume and doming, perform a consistent half-inch poke test, confirm a pleasant active aroma, and verify the dough temperature aligns with your plan. These combined observations will give you a reliable read on readiness for the oven.
When overnight proofing is appropriate and how to plan for it
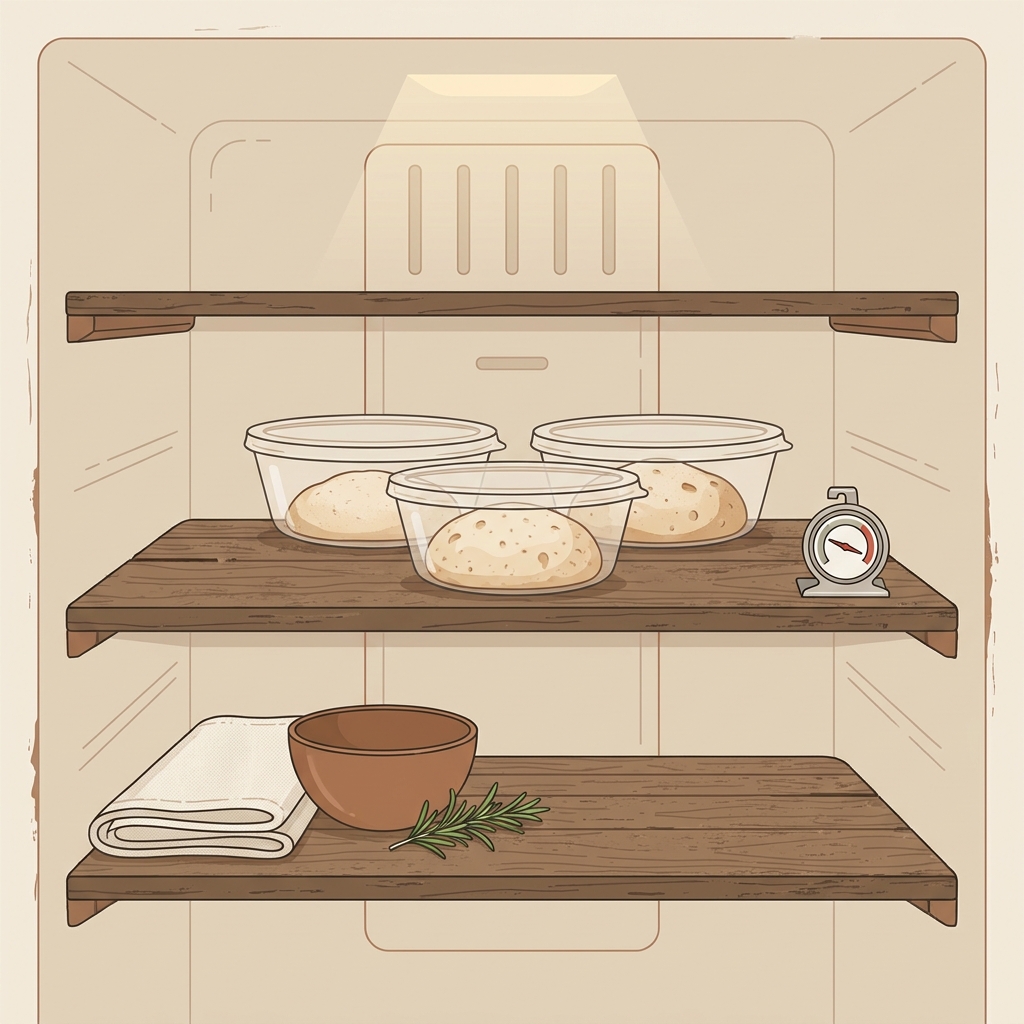
Overnight proofing suits many home-baking schedules, but not every dough. Choose overnight proofing when you want more flavor development from a slow fermentation, when your schedule requires baking in the morning, or when a particular recipe benefits from extended cold time to firm and relax the dough.
Good candidates for overnight proofing include lean artisan loaves and many sourdough recipes because they benefit from slow acid development and gentler gluten relaxation. Enriched doughs, for example those with milk, eggs, or a high fat content, can still be cold-proofed overnight but may require shorter cold times or adjusted yeast so sweet or enriched doughs do not exhaust their rise.
Keep in mind basic refrigerator guidance. A typical household fridge runs between 2 and 6 degrees Celsius. Lower temperatures slow fermentation more. If you want a long, safe overnight window, prefer a colder environment and reduce the yeast or starter activity slightly at the start of the process. This approach lets you avoid large swings in proofing between evening and morning.
Adjust yeast amounts rather than relying on exact times. If your usual same-day schedule uses a teaspoon of instant yeast, cutting that by 20 to 40 percent for an overnight plan often helps avoid overproofing. For sourdough, use a smaller inoculation of active starter for a longer cold retard. These are starting points; you will tune them to your starter strength and fridge behavior after a couple of bakes.
Also plan for dough handling after the fridge. A very cold loaf straight from refrigeration needs a short bench rest to lose surface chill and allow a final warm-up before scoring and baking. This rest is usually brief, and you will confirm readiness with the poke test rather than relying only on elapsed time.
Common mistakes, signs of overproofing, and how to fix problems
Common errors start with temperature and yeast mismatches. A fridge that is too warm, too much yeast, or an overly active starter can turn a planned overnight slow proof into an overproofed mess. Skipping the sensory checks and trusting only the clock invites surprises.
Signs of overproofing include lack of spring when scored, a loose or collapsing surface, a wet or overly slack feel, and an alcoholic or very sharp scent. Overproofed dough often holds large, fragile bubbles that burst when scored, producing a coarse crumb and limited oven spring.
Rescue steps depend on how far the dough has traveled. For a slightly overproofed loaf, gentle reshaping can help. Deflate the dough briefly, reshape with attention to building surface tension, and give a short final proof at room temperature before baking. This often recovers enough structure to produce an acceptable bake while reducing waste.
If the dough is severely overproofed, with collapsed shape and no spring, the bread may not recover well. You can still bake it as a flat loaf, focaccia, or use it as enriched bread pudding or croutons. When feasible, refreshing the dough by folding in a small amount of fresh flour and water and allowing a brief second rise can sometimes revive it, but this is a labor-intensive fix and may not fully restore oven spring.
Underproofed dough is easier to fix: allow more time at a warmer temperature, and use the poke test every 10 to 20 minutes to see when the dough reaches the right spring-back. If you discover an underproofed dough after shaping, a short warm final proof or placing the dough in a slightly warmer spot for 15 to 45 minutes usually brings it into range.
To judge whether to bake an imperfect dough, consider texture and waste. Slightly overproofed dough may still give a pleasant, open crumb and good flavor; it might simply have less oven spring. When in doubt, a test bake can be educational and reduce food waste. Remember that flavor from overnight proofing is often worth a modest trade-off in rise for many home bakers.
Practical overnight-proofing workflows and example scenarios
Below are three example workflows for common situations. Each gives a conservative starting schedule, how to set fridge temperature and yeast, and the tests to perform at key checkpoints. Use these as templates you can adapt to your starter strength and refrigerator behavior.
Workflow A: sourdough loaf with overnight final proof. Mix and autolyse if using, perform a modest bulk fermentation until the dough shows initial rise and small bubbles, then shape in the evening and place shaped loaves into well-sealed bannetons or covered pans. Chill at refrigerator temperature and plan to bake the next morning. In the morning, remove the dough, allow a short bench rest if needed, perform the poke test and a visual check for doming, score, and bake. The slow overnight cold fermentation deepens flavor while the short warm-up restores surface tension for oven spring.
Workflow B: basic lean bread with overnight bulk fermentation. Mix, then place the dough in a covered container in the fridge for an overnight bulk retard. The next day, remove, gently fold or reshape, give a short final proof at room temperature until the dough passes the poke test, and bake. Reduce instant yeast by roughly 25 percent from a same-day recipe to lengthen the window and avoid an exhausted rise.
Workflow C: enriched dough and overnight considerations. For doughs with butter, eggs, or sugar, perform a typical bulk fermentation until the dough has some strength, then refrigerate for a shorter overnight step. Enriched doughs can be more fragile when cold; if you expect a long chill, reduce yeast more substantially and plan a slightly longer warm-up and gentle handling before shaping and proofing to avoid degassing fragile dough.
For each workflow, use the poke test at the key checkpoints. After shaping for a final proof, do a half-inch poke and expect a slow partial spring-back for readiness. For a cold bulk retard, perform a poke test after a short warm-up period when you are ready to shape and proof the next day. Keep notes on your timing and fridge temperature so you can fine-tune yeast amounts and schedule for consistent results.
Here are quick schedules you can adapt: for a sourdough final proof, shape at 8 pm and chill at 3 to 5 degrees Celsius, bake at 7 am after a 20 to 40 minute bench rest. For a lean bread bulk retard, mix at 6 pm with 25 percent less instant yeast, chill overnight and shape the following morning with a 45 to 90 minute final proof. For enriched dough, aim for a shorter overnight window and a more conservative yeast reduction, then allow a longer warm-up before baking to regain elasticity.
Final checklist for same-day baking from overnight-proofed dough: visual check for doming and bubble pattern, consistent half-inch poke test, brief warm bench rest if dough is cold, proper scoring, and preheated oven with a useful steam source if the recipe calls for it. Following these steps reduces surprises and helps you turn an overnight plan into reliable results.
Closing practical notes
Overnight proofing is a flexible tool in a home baker's toolbox. With simple sensory checks and a conservative approach to yeast and temperature, it yields improved flavor and easier scheduling. Keep a small notebook or digital log of fridge temps, yeast amounts, and poke test results so you can refine timing for your kitchen.
With practice you will learn how your dough and fridge interact and will be able to plan overnight ferments with confidence. When in doubt, use the poke test and a short warm-up rather than trusting only elapsed hours.
Frequently asked questions
Can I proof dough overnight in the refrigerator?
Yes, many bakers proof dough overnight in the refrigerator to develop flavor. Use a colder fridge setting and reduce yeast or starter slightly to avoid overproofing, and confirm readiness with the poke test before baking.
What does the poke test tell me?
The poke test indicates how quickly dough springs back. A quick spring-back means underproofed, slow partial recovery means ready, and no spring-back suggests overproofing.
How do I rescue overproofed dough?
You can reshape a slightly overproofed dough and give it a short final proof, or bake it as a flatter loaf. Severely overproofed dough may be used for other recipes to avoid waste.
Overnight proofing is a practical way to extend fermentation for flavor and convenience. By relying on sensory tests such as the poke test, visual inspection, and a short warm-up before baking, you can make overnight schedules work reliably for a wide range of doughs. Keep notes on what your fridge and starter do, and tune yeast amounts and timing across a few bakes to create an overnight plan that consistently produces bread you enjoy.
References
- https://challengerbreadware.com/bread-techniques/identifying-proofing-levels-in-dough/?srsltid=AU7gw4XK9RP8oVShOrlpDEd24ueu-VYqt7zFn2jbpOOUCMrTHm7owhaY
- https://beautifullivingmadeeasy.com/how-to-tell-when-your-sourdough-bread-is-ready-to-bake-the-poke-test/?srsltid=AU7gw4U7wTFxQTRoh_9cnw8IVyTfE4K_8dXnPUZBBI5qUZCNfdAd3zHK
- https://www.youtube.com/watch?v=3o5boRXTlt0
- https://stirreddaily.com/guides/baking-and-bakeware/
- https://stirreddaily.com/sourdough
- https://stirreddaily.com/technique-atlas/fold/
Product options for this topic
As an Amazon Associate I earn from qualifying purchases. These are researched options, not hands-on test results. Check the exact size or model, current price and availability on Amazon.
| Product option | Fit and limits to check | Retailer |
|---|---|---|
| OXO Good Grips 11-pound kitchen scale | A kitchen-scale candidate for weighing flour and water. Check minimum increments and capacity; very small yeast quantities may need a finer scale. | View on Amazon |
| OXO Good Grips bench scraper | A bench tool for dividing dough and clearing a work surface. Check compatibility with delicate countertops before scraping. | View on Amazon |