
The journal
How do I tell if my bread is under proofed? Practical checks and fixes
how to tell bread dough is proofed with a quick poke test, visual cues, remedies and prevention tips to avoid underproofed loaves.
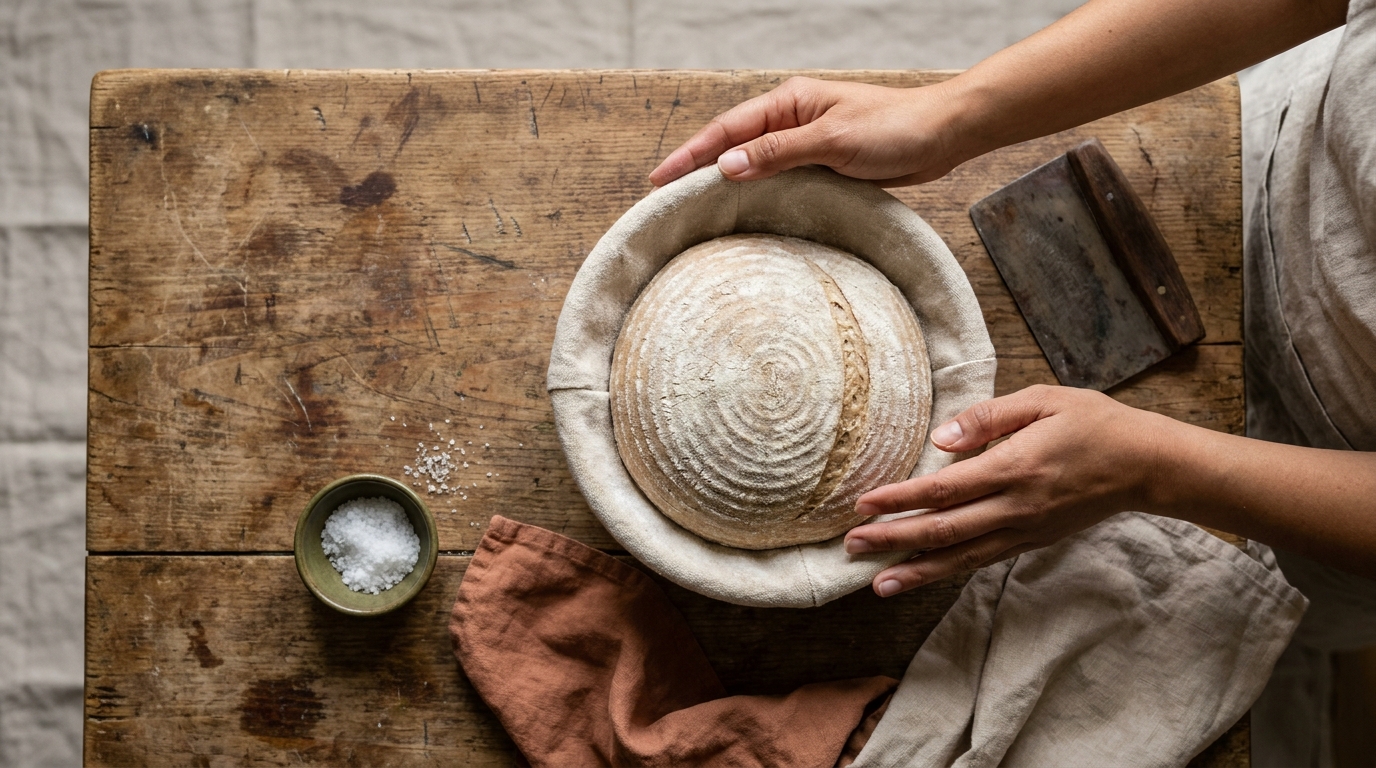
Quick answer: how to tell bread dough is proofed and what underproofing looks like
For a rapid field verdict, use the finger-poke test: a fast, full spring-back after a gentle dent usually means the dough is underproofed; a slow partial spring-back that leaves a slight dent indicates the dough is ready to bake; and no spring-back points to overproofing. This single-sentence rule gives a repeatable, immediate signal you can use while shaping or loading the oven, and it prioritizes feel over the clock.
Visual signs that most reliably point to underproofed bread include a tight, smooth surface that resists stretching, a dough that snaps back quickly when indented, and the risk of excessive oven spring that tears at scores or weak spots during baking. These cues come from practical troubleshooting used by bakers and help explain why time alone is not the best judge of readiness
Underproofed dough also tends to keep a primarily yeasty, raw aroma rather than the rounded or mildly acidic scent you get when fermentation has progressed, though smell is a supplementary cue and not as consistent as the poke test
How can I quickly tell if my bread is underproofed and what can I do about it?
Use the finger-poke test as your primary check: fast full spring-back means underproofed; extend the final proof in a warm spot and recheck every 15 to 30 minutes, or apply a gentle fold if caught early.
If that short prompt made you hesitate, try the poke test now and follow the step-by-step checks in the next section to confirm, then bookmark this page for the next bake. You can watch a short demo of the poke test.
Short field checklist
Quick checklist to decide now: press gently with your finger about 1 centimeter deep in the dough surface; if the dough snaps back fully and no dent remains, it is underproofed; if the dent remains slightly and the dough rebounds slowly, it is ready; if the dough does not rebound at all, it is likely overproofed. The finger-poke test is the central, fastest check most home bakers use to read final proofing America's Test Kitchen explanation
Other immediate visual checks to run now: look for a smooth, domed surface with moderate tension, check the edges of the loaf for visible gas bubbles, and note whether the dough feels tight when you try to stretch it gently.

When to trust the clock and when not to
Use time only as a guideline. Proofing depends on gas retention and gluten extensibility built during both bulk fermentation and final rise, so two loaves with the same clock time can be at different readiness points depending on dough temperature and handling
When you are learning a formula, log room temperature, dough temperature, and how the dough looked and felt at key moments; over repeats you will trade strict minutes for consistent cues that match your kitchen.
How to check proofing in practice: the poke test and what to look for
Step-by-step finger-poke test for final proof
Find a clear spot on the top or side of the loaf or banneton where the dough is neither slumped nor too tight to press. Use your index finger and press straight down about 1 centimeter or roughly to the first knuckle; press gently so you do not tear the skin, then withdraw the finger and watch the response.
If the dough bounces back quickly and the indentation disappears, it is usually underproofed and needs more time. That fast, full spring-back is the single most consistent sign bakers rely on when deciding to hold the dough through extra proofing rather than bake immediately
When the dough slowly rebounds and the dent remains faintly visible, you likely have the right balance of gas retention and gluten extensibility to bake now; this slow partial spring-back is what to aim for during final proof America's Test Kitchen explanation (see the technique at The Perfect Loaf)
Do not press so hard that you remove a small sliver of dough; the goal is to make a clear, repeatable impression, not pierce through. Keep your hand warm and steady so the test is consistent between tries.
Visual and tactile cues to combine with the poke test
Combine the poke result with surface tension checks: a properly proofed loaf shows some surface tension but yields a little; underproofed loaves feel tight and resist stretching. During bench work you can lift the edge of a shaped loaf to look for a network of small bubbles at the cut surface; a lack of obvious interior gas or small, dense bubbles suggests underproofing (see identifying proofing levels at Challenger Breadware)
Also note how the dough behaves when slightly stretched: if it tears or resists rather than stretches thin, the gluten may not be sufficiently extensible and the loaf will be prone to dense crumb or tearing with strong oven spring
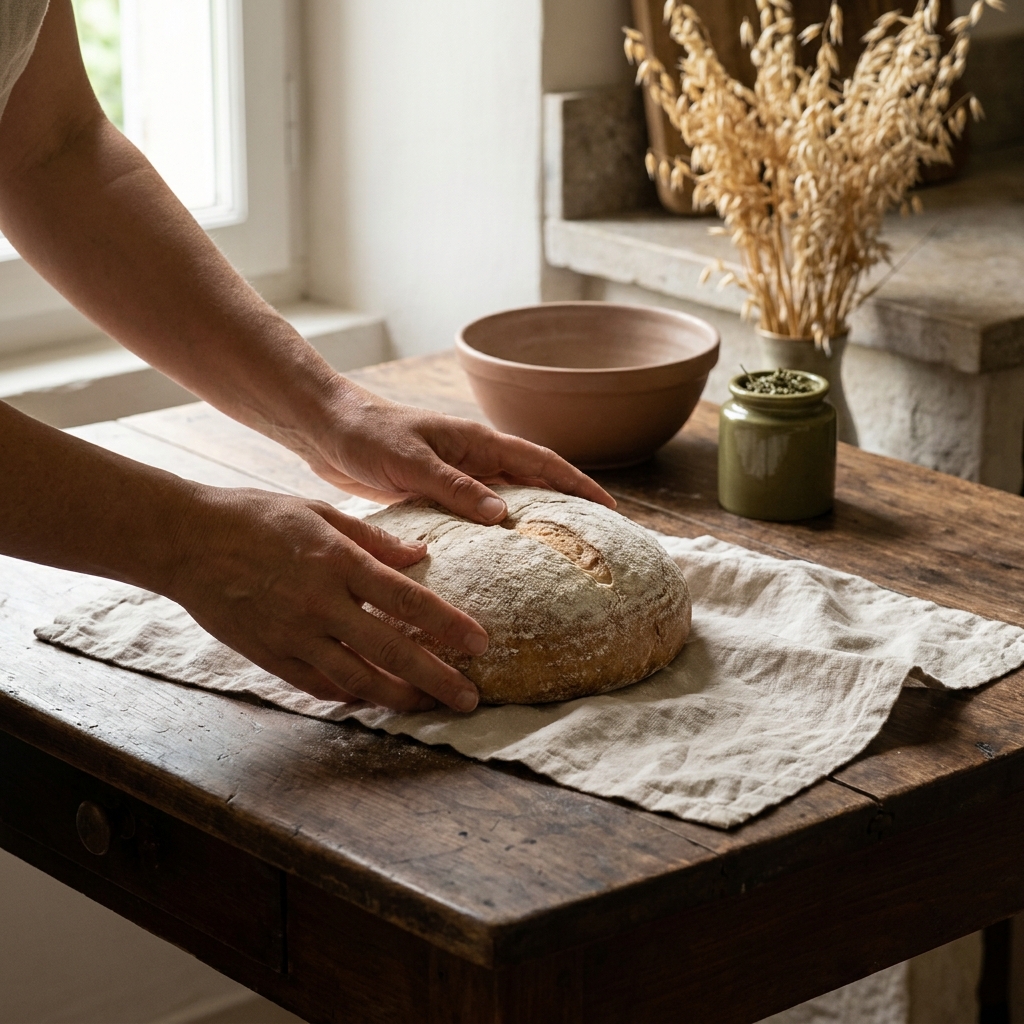
When you check repeatedly, mark results in a notebook: time, room temperature, dough temperature if available, and the poke outcome. That simple log helps you convert vague minutes into reliable, repeatable cues from bake to bake.
Why dough underproofs: the fermentation and gluten mechanics to know
In plain terms, proofing is about the dough holding gas like a balloon while the gluten becomes flexible enough to expand without tearing. If gas production is too slow or the gluten is too tight, the dough cannot develop the right internal structure, and it will be underproofed even if the clock suggests it should be ready
Common environmental and formula causes of underproofing include cool dough or room temperature, inactive or insufficient yeast, overly tight shaping that strips gas, or skipping sufficient bulk fermentation. These factors reduce gas retention or gluten extensibility and leave the dough feeling dense and elastic rather than softly expanded
Aroma can add information: underproofed dough often smells more sharply yeasty and raw, whereas a more developed dough offers a rounded or mildly acidic note, particularly with sourdough, but scent is a secondary cue and varies with flour and hydration
Shaping technique also matters. Overly tight shaping may trap gas in the wrong places or cause the dough surface to be too taut, which makes the final rise feel shorter and can show up as a tight crumb. If you repeatedly see dense loaves, review your shaping to preserve interior gas and avoid sealing the dough too strongly.
Safe, practical fixes when you discover your loaf is underproofed
If the poke test shows fast full spring-back and you still have time, the simplest immediate fix is to extend the final proof in a warm but moderate spot, roughly 75 to 80°F (24 to 27°C), and recheck at short intervals. Warmer but not hot conditions speed fermentation safely without breaking down gluten quickly Lallemand technical bulletin
If you catch the dough very early in final proof, a gentle stretch-and-fold can redistribute yeast and gas and help the gluten relax, then allow another short proof before retesting with the poke test. The fold should be gentle to avoid degassing the dough excessively
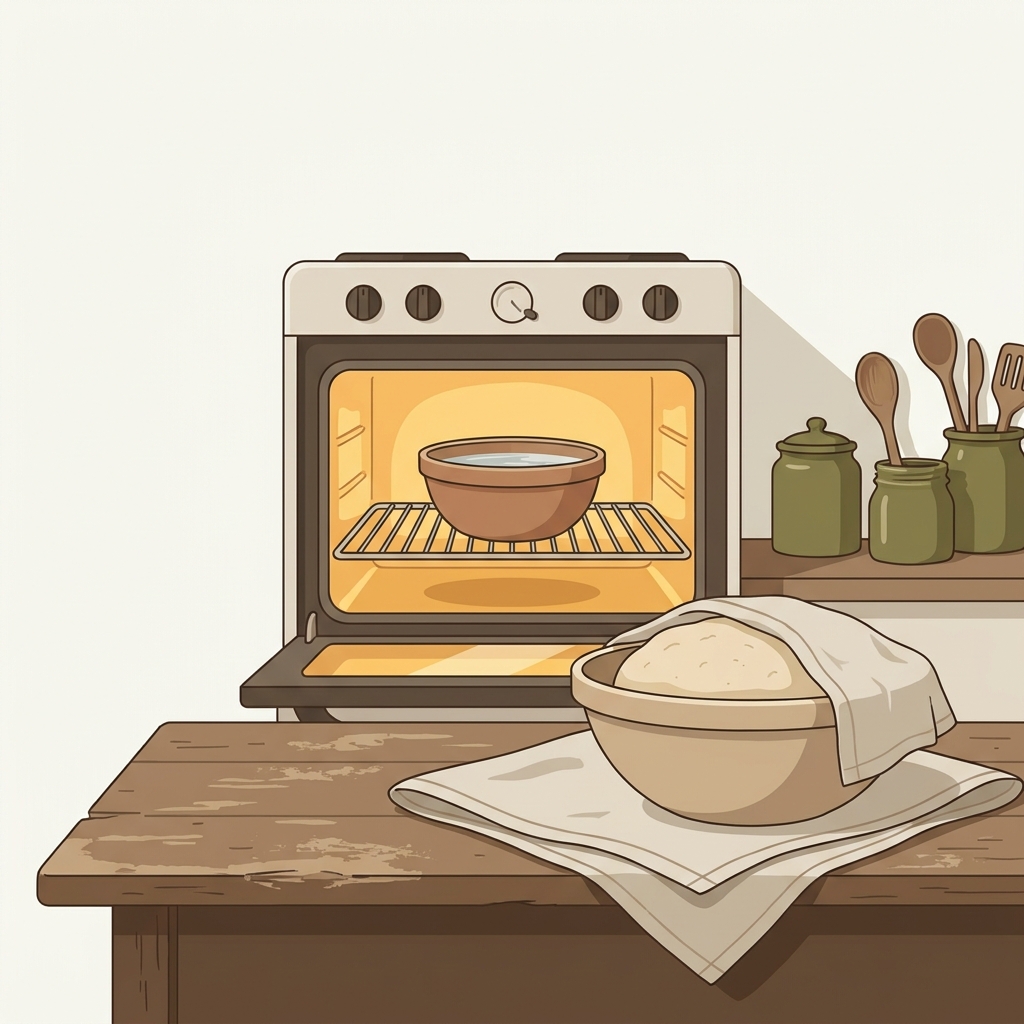
quick warm-proof setup for a home oven
If you notice underproofing just after shaping or immediately before scoring, place the shaped loaf in a slightly warmer spot and check every 15 minutes; when you are within sight of partial spring-back, 15 to 30 minutes often brings the dough into the ready window without overshooting Lallemand technical bulletin
For loaves that are very underproofed at the oven door, one stopgap is to reduce oven temperature slightly on initial entry or use a gentler steam approach to avoid extremely rapid oven spring that tears the crust. However, this is a workaround and not a cure; the best path is to allow adequate proof before baking when possible
When you extend proof, watch the dough with the poke test and do not rely only on added minutes. Rechecking at 15-minute intervals keeps the process controlled and helps avoid flipping from underproofed to overproofed.
How to prevent underproofing: simple tracking and environment habits to get repeatable results
Preventing underproofing is mostly about consistent conditions. Track dough temperature, ambient temperature, and how the dough looks at key moments. For many lean doughs, aiming for dough temperatures in the mid-70s°F (24 to 26°C) during bulk and final proof gives a stable starting point, while adjusting slightly for flour type and hydration Lallemand technical bulletin
Keep a short log for each formula: mix time, flour brand and hydration, dough temperature after mixing, bulk fermentation signs, and the poke result before baking. Small consistent notes let you turn clock times into reliable cues suited to your kitchen.
Simple setups to stabilize proofing temperature work well: an oven with the light on and a bowl of warm water inside produces a gentle rise in ambient temperature; a small cooler with a warm water bottle can also do the job. You do not need specialized gear, only repeatable conditions Puratos knowledge center
Another preventive habit is to avoid over-tight shaping that strips gas. Aim for shaping that creates surface tension without collapsing the dough; that balance helps the final proof show the slow partial spring-back you want to see.
Common mistakes, quick troubleshooting checklist, and final takeaways
Top mistakes that lead to underproofing include relying only on the clock, testing with inconsistent pressure during the poke test, shaping too tightly, and ignoring dough temperature. Correct these and you will read proofing more reliably from the feel of the dough
Quick troubleshooting checklist when you see excessive oven spring or a tight crumb: diagnose whether the dough rebounded fully on the poke test, warm the proof spot and extend final proof in short checks, consider a gentle stretch-and-fold if still early, and log conditions so you can repeat a successful change next bake
Common pitfall to avoid: misreading quick spring-back as readiness. Quick rebound after a finger poke usually means the dough needs more time, not less, and baking too early is the usual cause of dense crumb combined with dramatic oven spring.
Final takeaway: the finger-poke test is your primary field tool. Combine it with surface tension, feel, and a short log of temperatures to make proofing predictable; small controlled experiments and consistent notes will beat trying to match a recipe's minutes and give you repeatable results.
Frequently asked questions
What does a fast spring-back mean when I poke dough?
A fast, full spring-back usually indicates the dough is underproofed and needs more time to develop gas retention and gluten extensibility.
How long should I extend proofing if dough is underproofed?
When near-ready, extend final proof in a warm spot and recheck every 15 to 30 minutes until the dent shows slow partial spring-back.
Can I fix underproofed loaves at the oven door?
Minor underproofing can sometimes be mitigated by slightly gentler initial oven conditions, but allowing more proof time is the safer and more reliable fix.
If you take one habit from this guide, let it be consistent checks and short notes. The finger-poke test plus a brief log of temperatures and outcomes will help you turn variable proofing into dependable results. Small, regular adjustments and the habit of rechecking at short intervals will prevent most underproofed outcomes and make your bakes more predictable over time.
References
- https://www.americastestkitchen.com/articles/6335-what-is-the-poke-test
- https://www.lallemandbaking.com/wp-content/uploads/2017/01/lsbbu_proofing_en_v1.0.pdf
- https://www.theperfectloaf.com/how-to-use-the-dough-poke-test/
- https://challengerbreadware.com/bread-techniques/identifying-proofing-levels-in-dough/?srsltid=AU7gw4UYwV9muNcEJsou5jxmAZRI7D5vdsYRWDPcrTthpgPVPGTtr0kL
- https://www.youtube.com/watch?v=U9aQV0IZRwU
- https://stirreddaily.com/guides/
- https://stirreddaily.com/technique-atlas/fold/
- https://stirreddaily.com/sourdough
Product options for this topic
As an Amazon Associate I earn from qualifying purchases. These are researched options, not hands-on test results. Check the exact size or model, current price and availability on Amazon.
| Product option | Fit and limits to check | Retailer |
|---|---|---|
| OXO Good Grips 11-pound kitchen scale | A kitchen-scale candidate for weighing flour and water. Check minimum increments and capacity; very small yeast quantities may need a finer scale. | View on Amazon |
| OXO Good Grips bench scraper | A bench tool for dividing dough and clearing a work surface. Check compatibility with delicate countertops before scraping. | View on Amazon |