
The journal
Should I grease parchment paper for cake?
Many layer-cake recipes use greased parchment, but some cakes require an ungreased pan. Follow the exact recipe, liner temperature limit and cooling instructions.
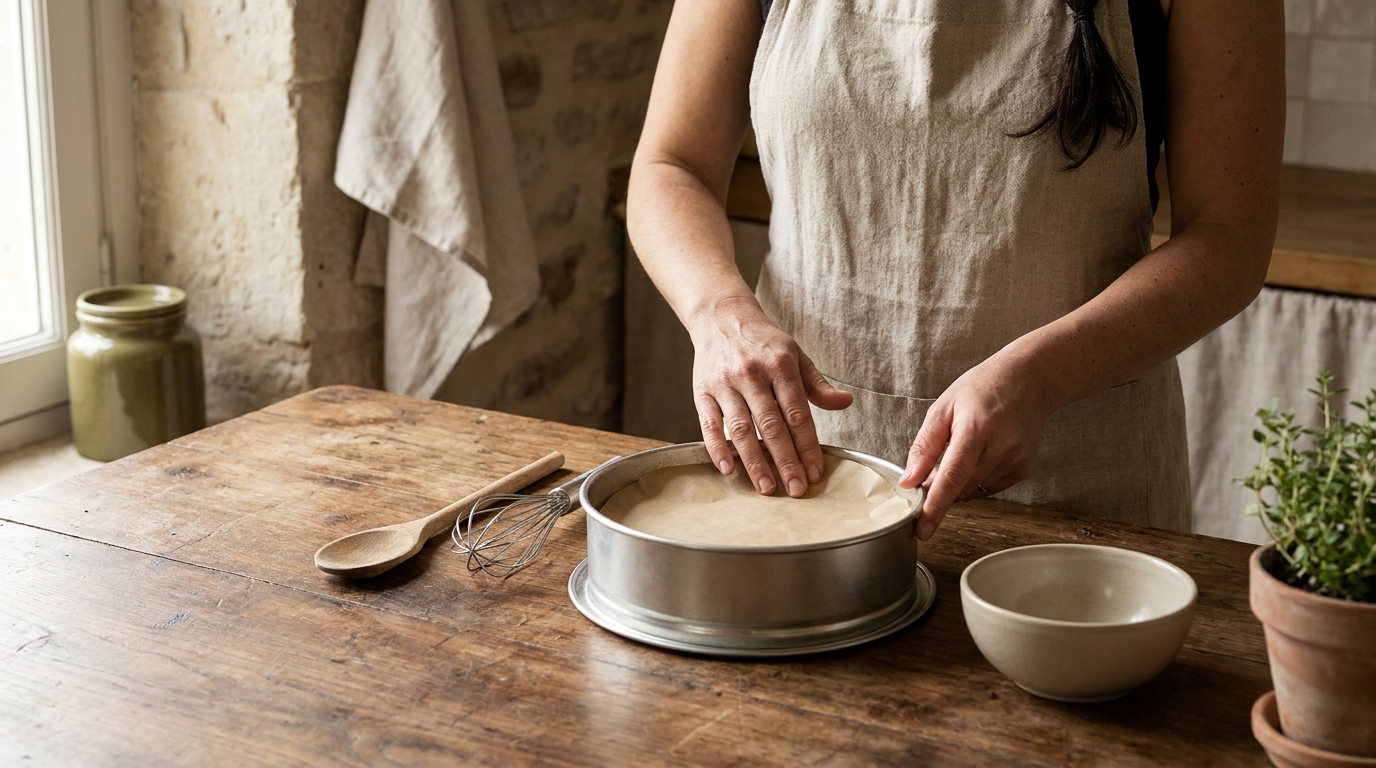
For many layer-cake recipes, lightly grease the pan, fit in a parchment round (or sling), then lightly grease the parchment too. This “belt and suspenders” approach helps the paper stay put, improves release from both the pan and the parchment, and reduces tearing when you lift or unmold delicate bakes. Testing and guidance from King Arthur Baking support this method, and many of their cake recipes specify it for consistent success (King Arthur: Do you really have to grease parchment?; King Arthur pan prep trials).
When to grease parchment (and when a single grease is enough)
- Layer cakes you need to unmold cleanly: Greasing under the parchment anchors it; greasing the parchment adds extra insurance so nothing sticks to the paper itself (King Arthur: Do you really have to grease parchment?).
- Sticky batters or add-ins (fruit, chocolate, caramel): Parchment plus nonstick spray was the top performer in cake-pan tests; some bakers also spray beneath and over the parchment for maximum reliability (King Arthur pan prep trials).
- Parchment slings you plan to lift: A light grease under the sling keeps it from sliding while you pour batter; a light grease on top helps it release after baking (King Arthur: Do you really have to grease parchment?).
If a trusted recipe instructs otherwise, follow it. If the recipe requires an ungreased pan, follow that instruction; adding grease to every cake is not a universal improvement (King Arthur pan prep trials).
How to line and grease a round cake pan
- Lightly grease the pan bottom and sides to anchor the paper and coat the walls.
- Fit a parchment round in the bottom; press it flat so there are no ripples. A small amount of grease helps the paper adhere and prevents shifting (Dr. Oetker: Line and grease a cake tin).
- Lightly grease the parchment surface and the pan’s sides. Use nonstick spray or a thin film of butter. Butter tends to hold paper in place better than oil if you find the paper slides (Dr. Oetker: Line and grease a cake tin).
- For a sling (bars, some breads), add strips that extend up two opposite sides; grease them lightly as well. Binder clips can hold sling ends during filling (King Arthur: Do you really have to grease parchment?).
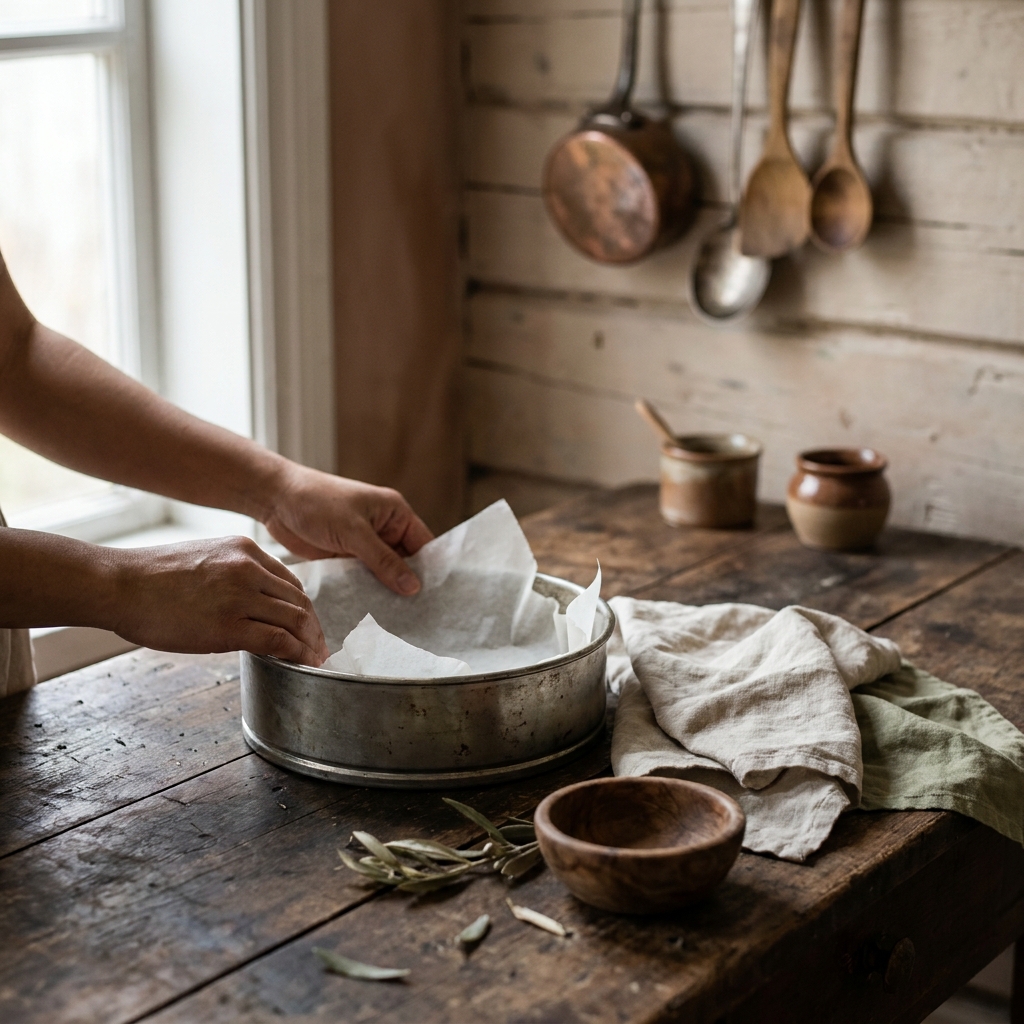
How to prevent parchment paper from burning
Use the actual parchment’s package limit. Reynolds gives its parchment a 425°F limit and excludes flames, contact with oven surfaces and a broiling unit. Do not treat darkening or charring as permission to exceed those instructions (King Arthur: Reusing parchment).
Practical ways to limit scorching
- Trim overhang: Cut parchment to fit the pan bottom and keep any overhang minimal so it doesn’t protrude above the rim. If you need lift tabs, keep them short and lay them flat against the sides. Dr. Oetker suggests modest overhang only as needed and cautions that excess paper can intrude into the bake (Dr. Oetker: Line and grease a cake tin).
- Anchor the paper: A light grease under the parchment helps it lie flat so the edges don’t curl and singe (Dr. Oetker: Line and grease a cake tin; King Arthur: Do you really have to grease parchment?).
- Use a precise fit for very hot bakes: When baking at higher temperatures, first check that the paper is rated for the recipe temperature, then use a neatly cut round with no overhang to keep edges away from the hottest airflow (King Arthur: Reusing parchment; Dr. Oetker: Line and grease a cake tin).
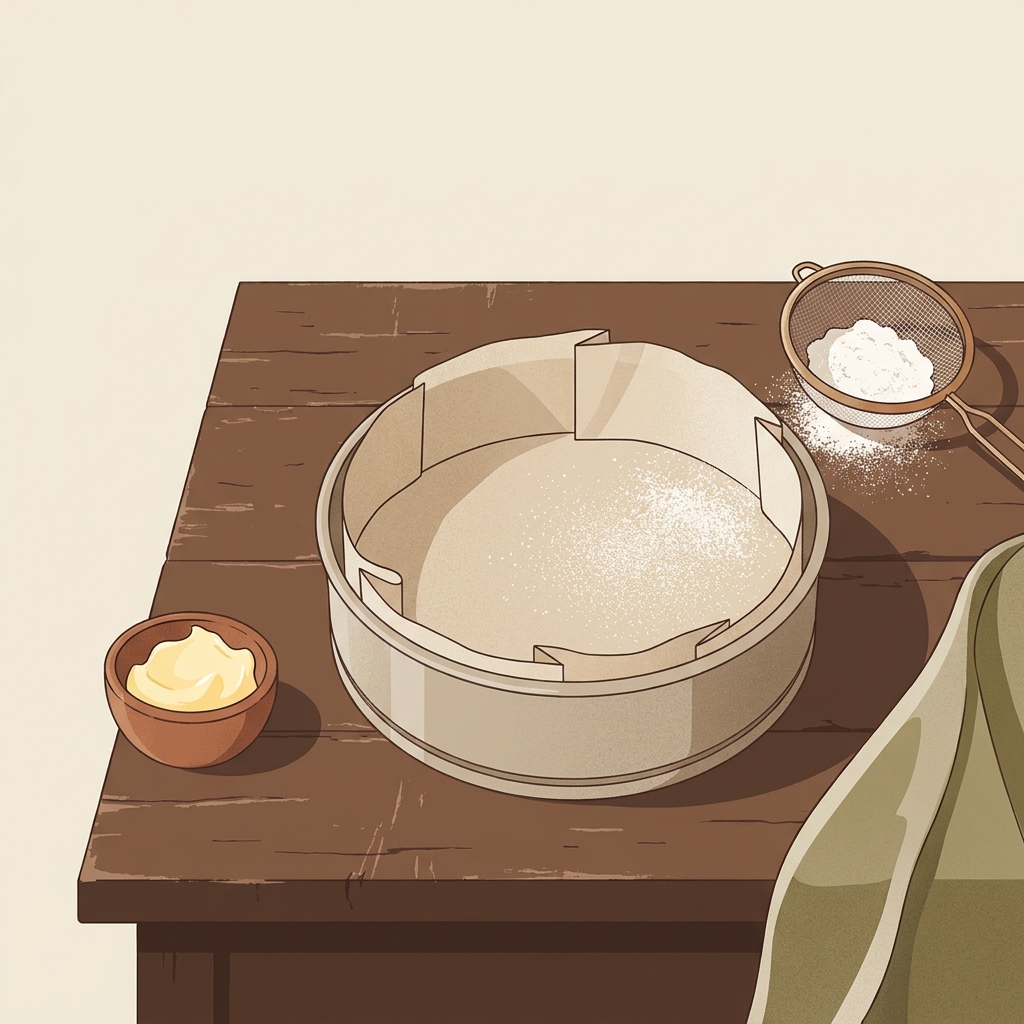
A quick, concrete setup for an 8-inch layer cake
- Lightly grease the pan bottom and sides.
- Place a precisely cut 8-inch parchment round in the bottom; press flat.
- Lightly grease the parchment and sides. Pour in batter.
- After baking, invert, lift off the pan, and peel the parchment from the warm cake bottom. Use the recipe’s cooling and unmoulding directions; this setup is an example for a suitable layer cake (King Arthur pan prep trials).
Related reading on Stirred Daily
- Why use wax paper instead of parchment paper?
- How do I use an oven thermometer when baking? Practical guide for home bakers
Put this into practice
Keep the exact cake recipe and pan-preparation instructions together. Test its specified greasing method rather than applying a bread-release trick to every cake or assuming that parchment always removes the need for grease.
Pan prep checklist for clean release and low-scorch parchment
Short FAQ
Do I still need this if my pan is nonstick? Yes. Even nonstick pans benefit from prep; cake batter can bond to the surface. Parchment plus spray was the most reliable setup in testing (King Arthur pan prep trials).
My parchment browned at the edges. Is it ruined? Not necessarily. Check that the product was used within its instructions. Discard brittle, crumbling or damaged paper; charring is not a reason to keep reusing it (King Arthur: Reusing parchment).

Optional equipment for this guide
Choose parchment only after comparing the recipe temperature with the limit on the exact package. Change the supported liner or preparation method if they do not match.
As an Amazon Associate I earn from qualifying purchases. These are researched options, not hands-on test results. Check the exact size or model, current price and availability on Amazon.
| Product option | Fit and limits to check | Retailer |
|---|---|---|
| Product imageReynolds Kitchens Stay Flat parchment, 45 sq ft | The listing specifies a 425°F limit. Check the actual package and recipe temperature; do not use a lower-rated paper for hotter bread baking or under a broiler. | View on Amazon |